|
|
| |
|
|
|
 Ropeworks, a name for work that is done on rope to maintain it or to alter a rope for a specific purpose.
 |
| |
|
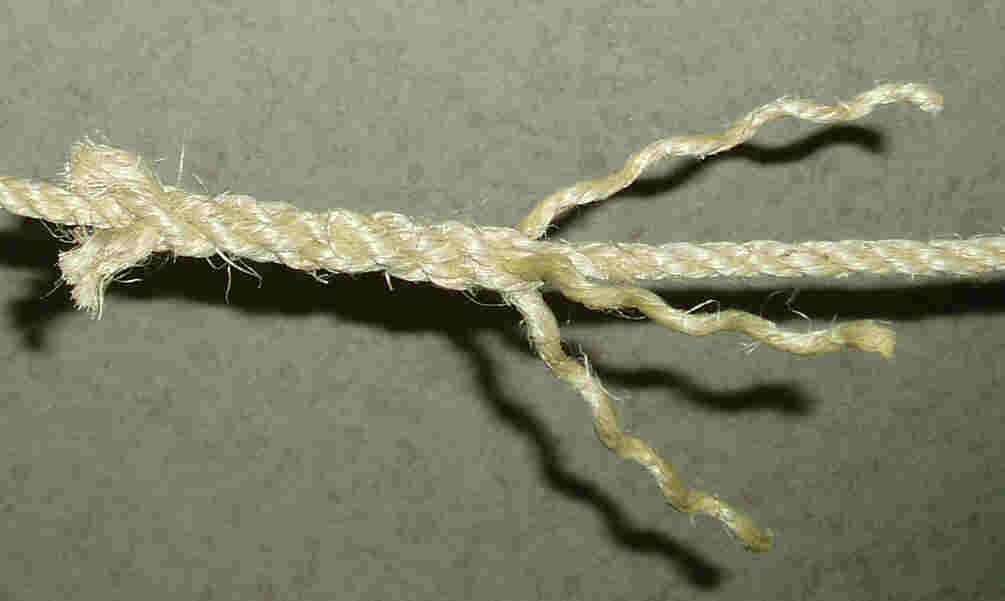
End splice
|
|
|
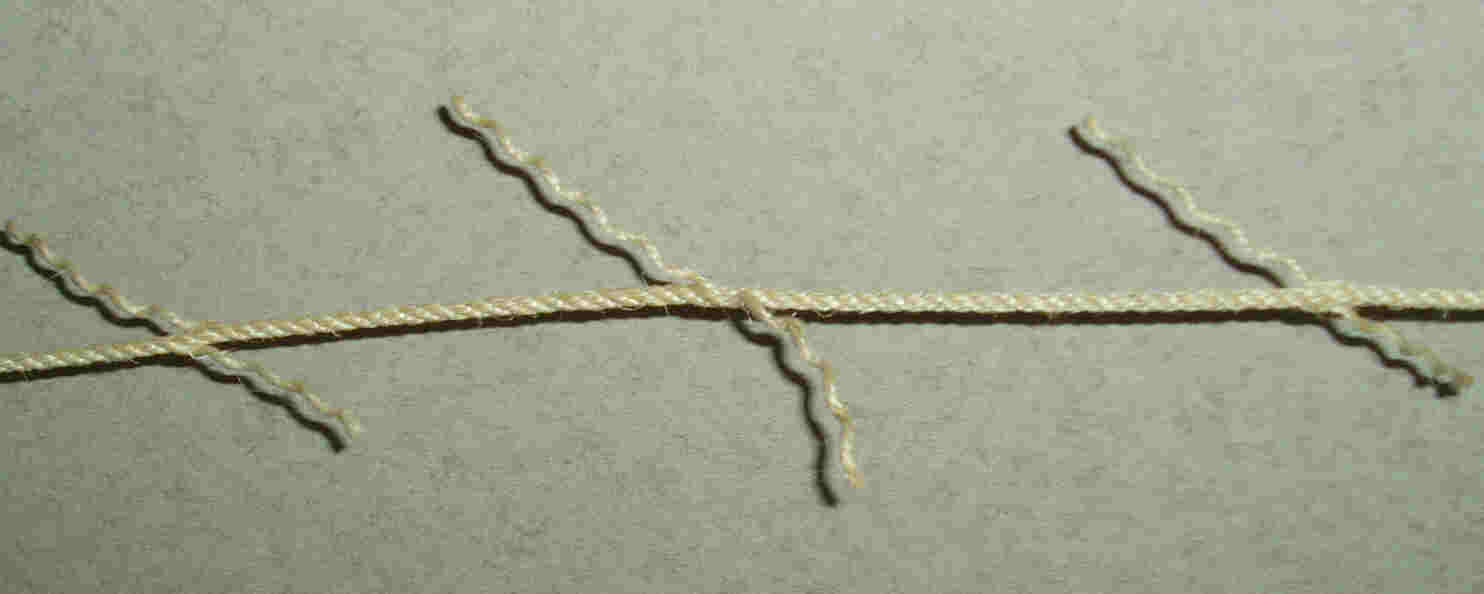
The End splice is a method fix the strands of a twined rope, so it does not fray. Additives are not
necessary. An ideal way to (temporarily) repair a rope. |
 |
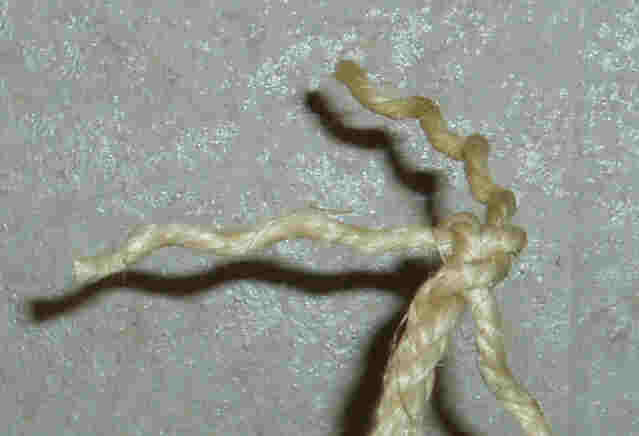
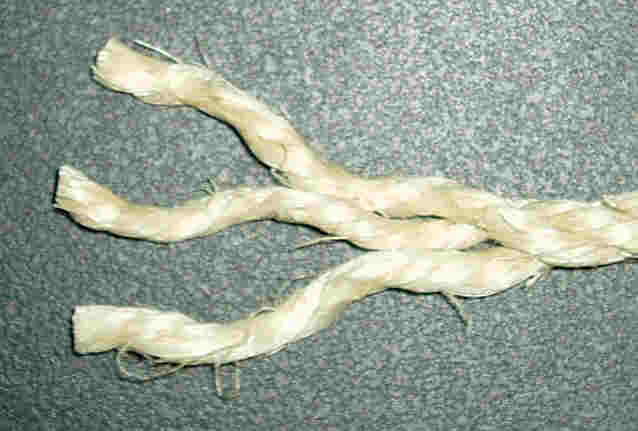
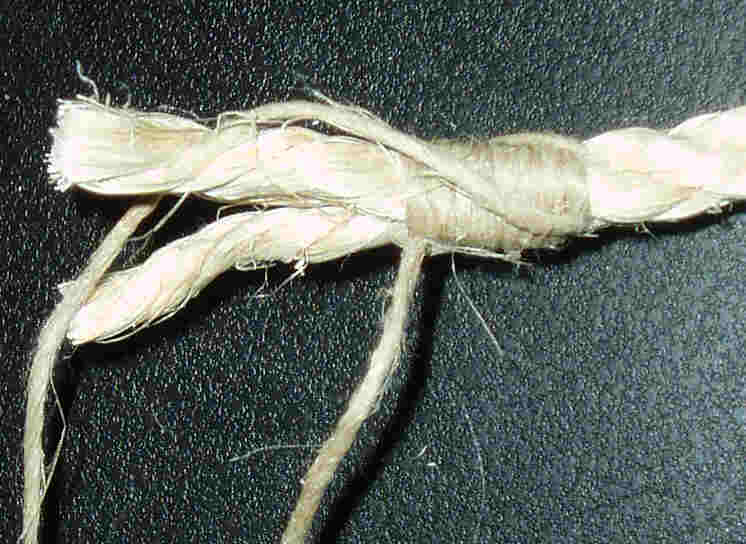
Twist the ends of the ropes apart and put one string between two others.
This is called strand A. Take the right, of the two upward strands, like photo, strand B.
Twist this strand over A and put it under the third strand (strand C). |
 |
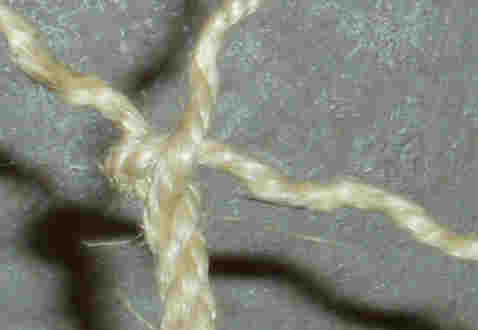
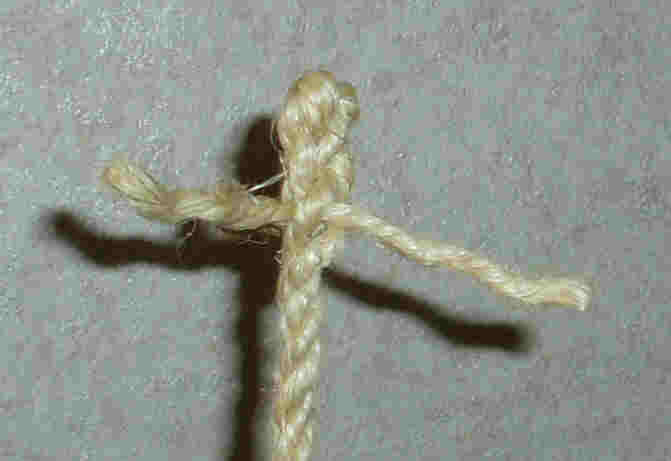
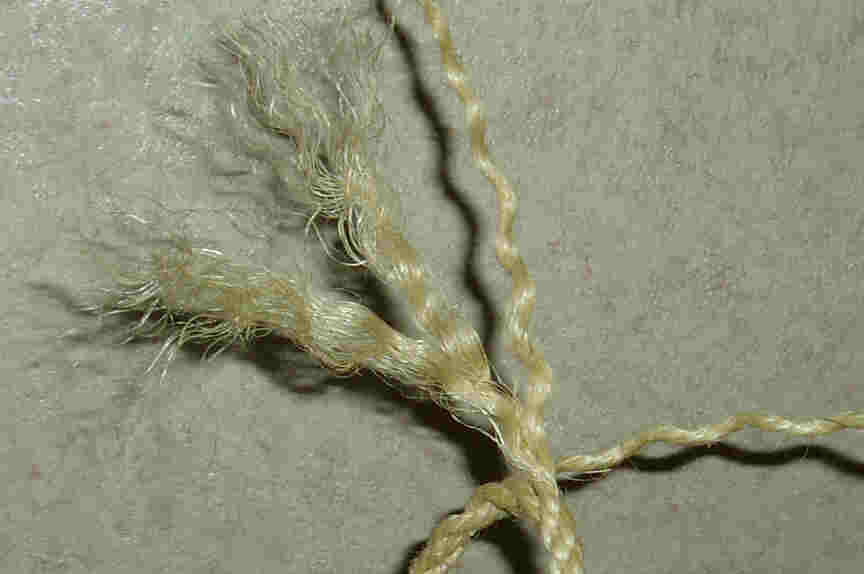
Picture shows, left strand A, strand B and strand C pointing to the top.
Put strand C over strand B, and move against the strokes, put it under strand A. |
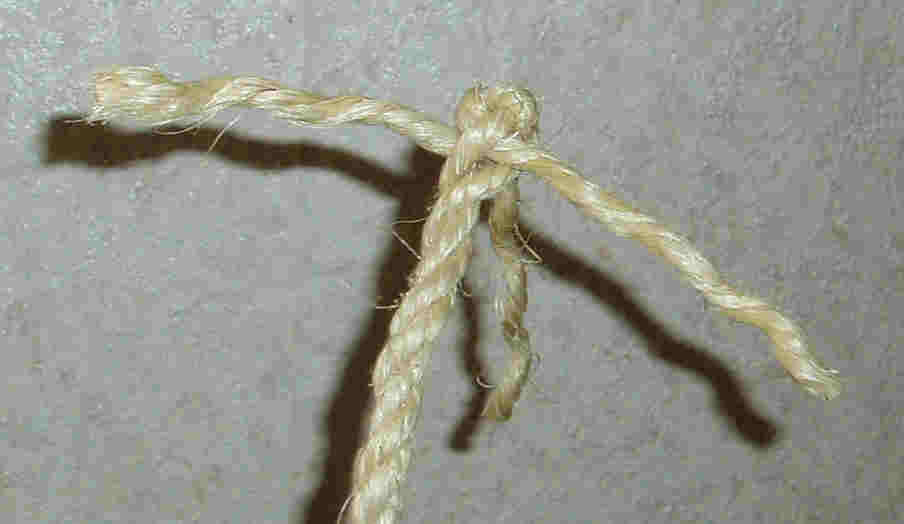 |
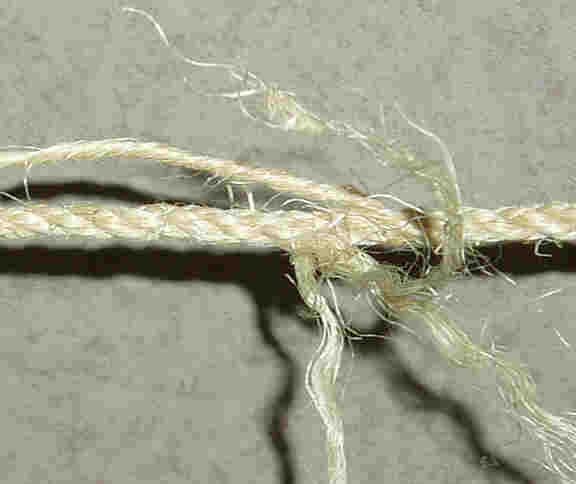
Picture shows the result.
Now weave the ends away, against the direction of the strokes. |
 |
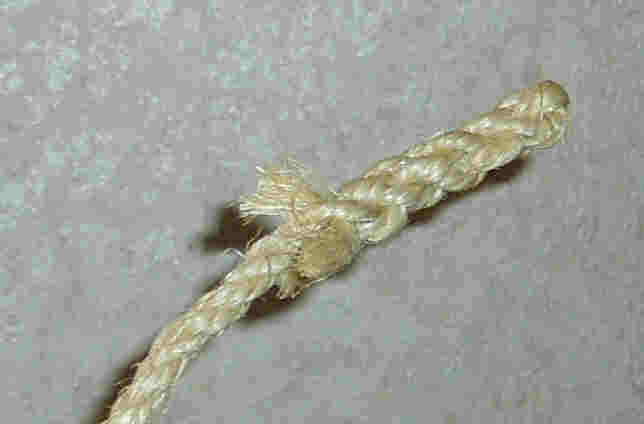 |
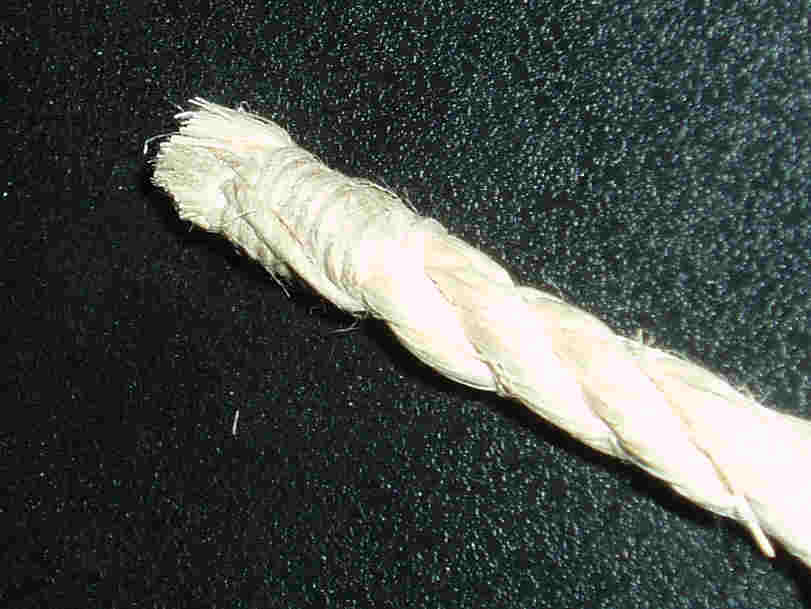
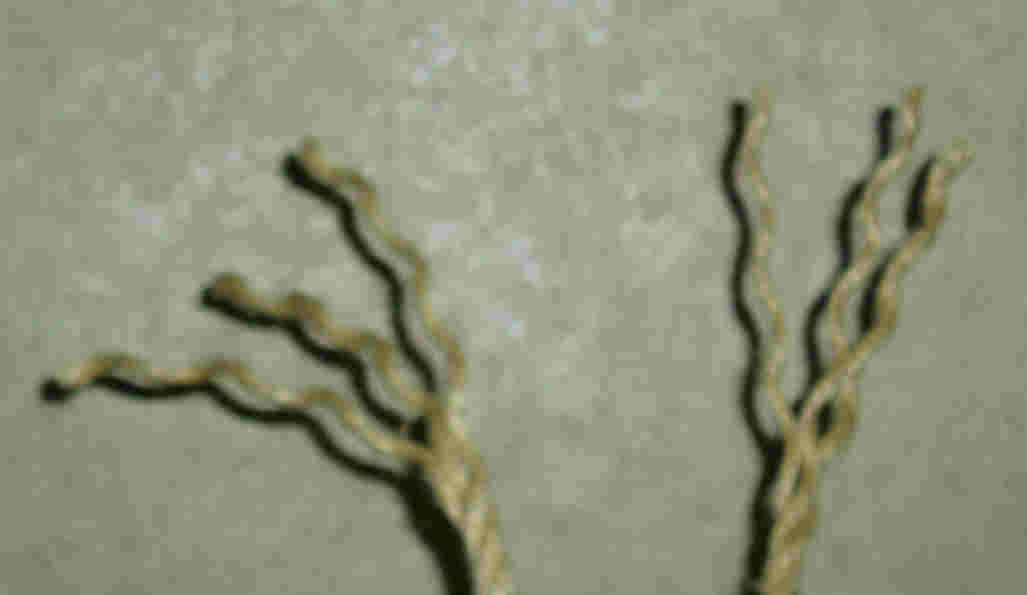
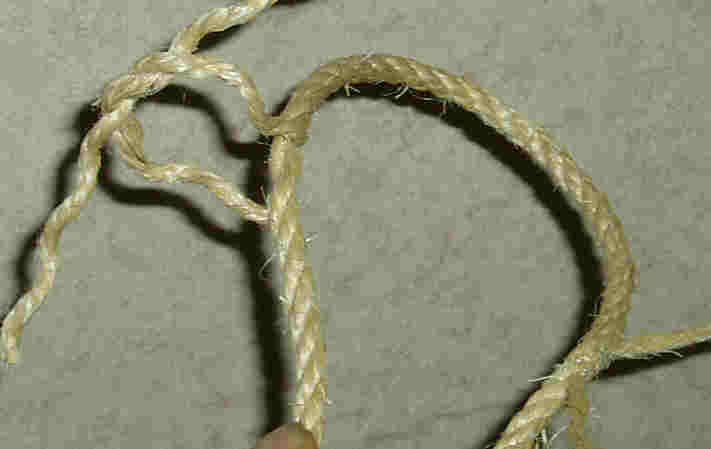
| Photo left shows the result after weaving all three ends one time. |
Photo right shows the result after three weaves of all three ends. |
 |
| |
|
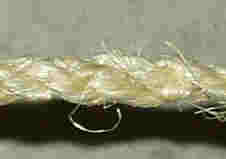
Sailmaker Stakling
|
|
|
The Sailmaker staking is allso a method fix the strands of a twined rope. |
 |
Twist the strands of the rope apart. |
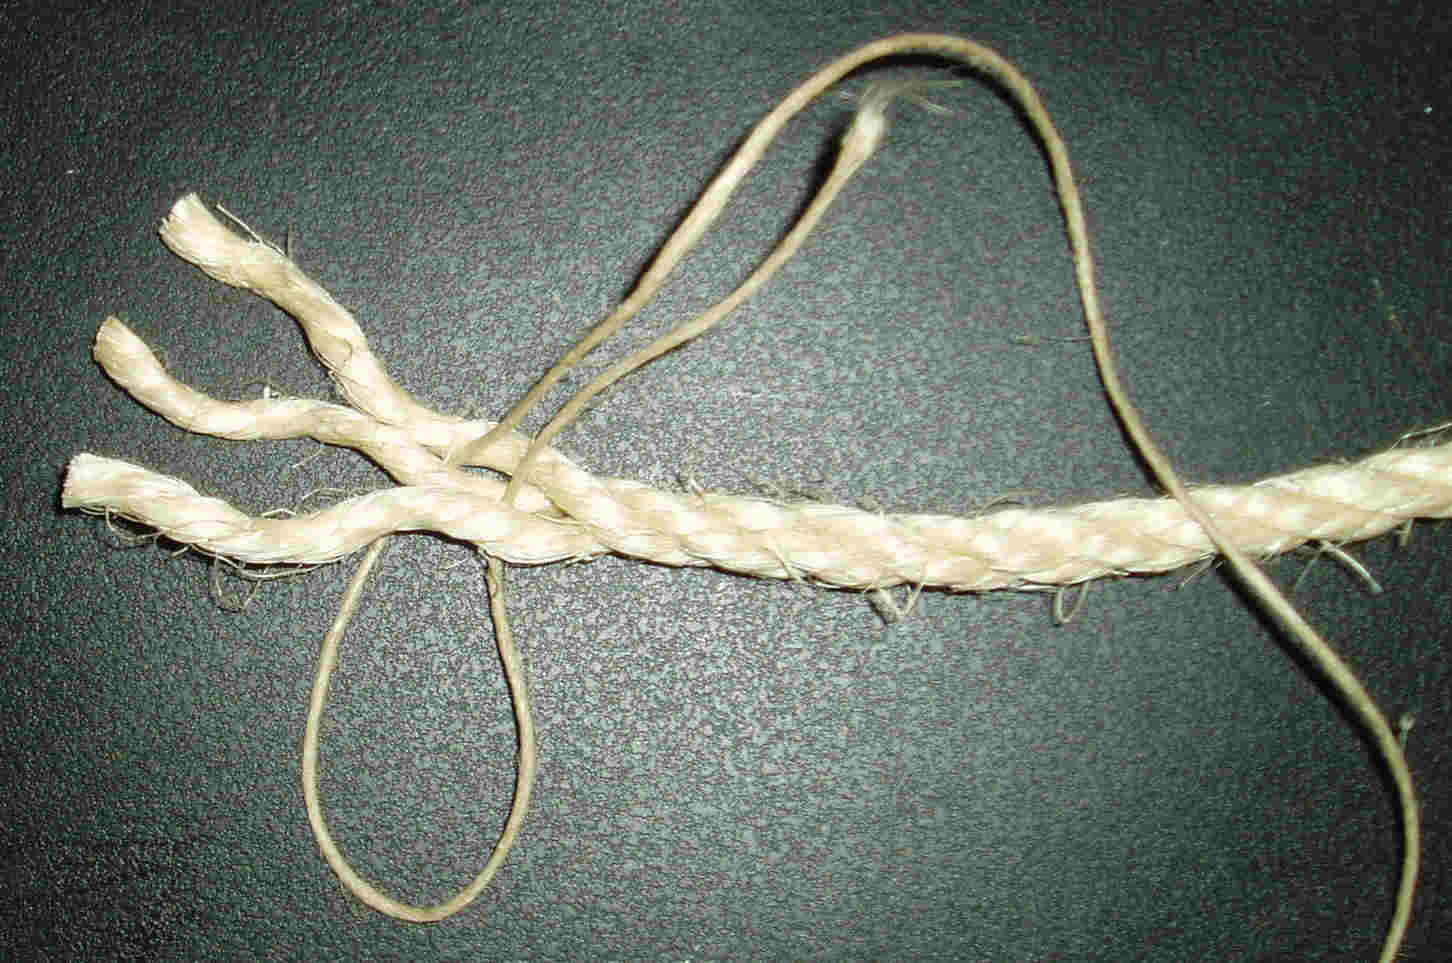 |
Place the suppementary rope, as in the photo, around one strand of the to finish end.
Thin rope has a length of about 30 cm. |
 |
Twist the rope back into its original shape. |
 |
 |
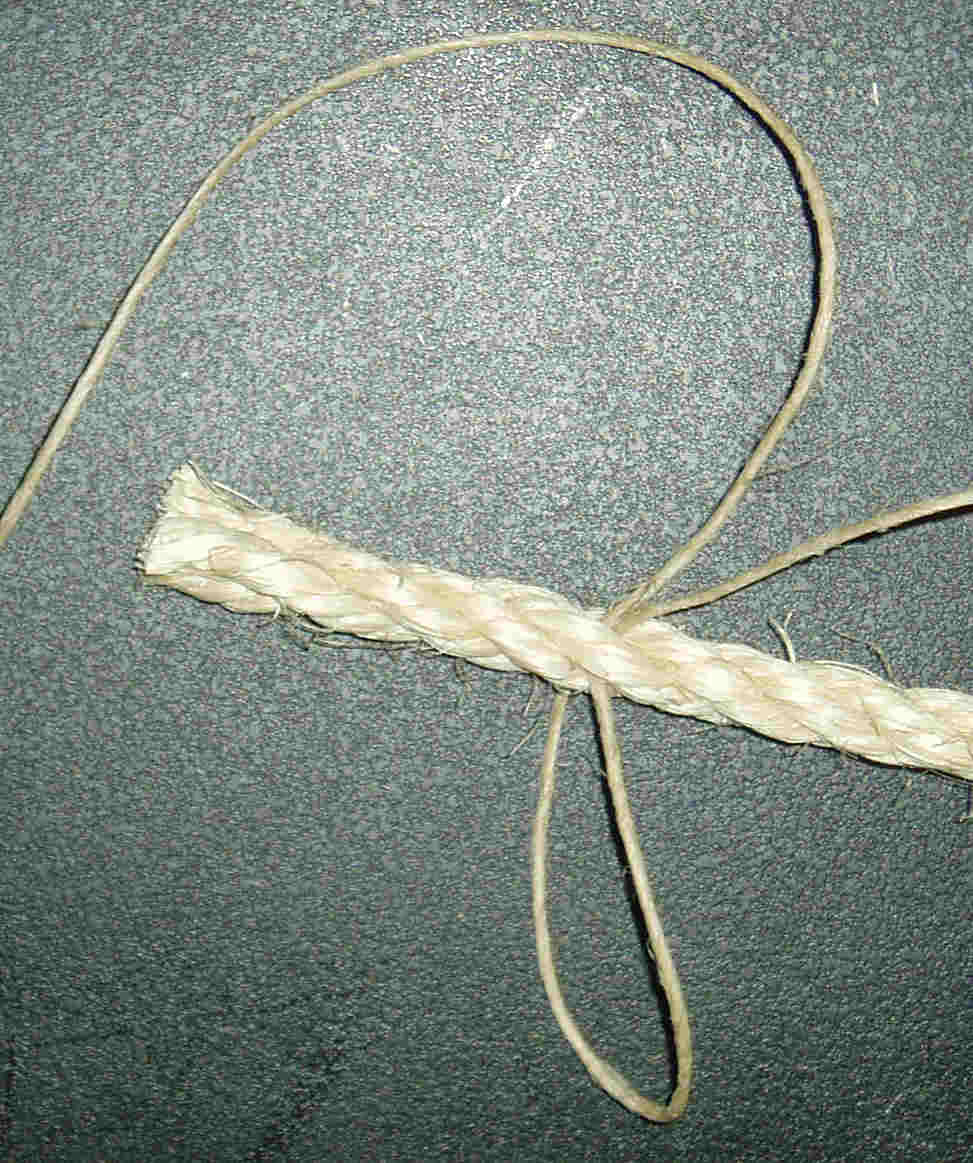
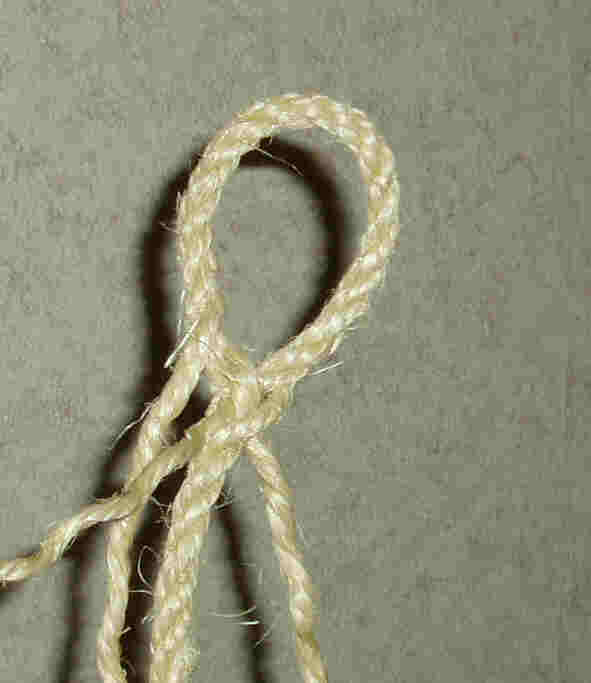
| Twist the long end of the thin rope, as tight as possible, upward.
Make 6 full twists. Then you put the loop over the same strand you first started out with.
Pull the short end, of the thin rope, as tight as possible. |
 |
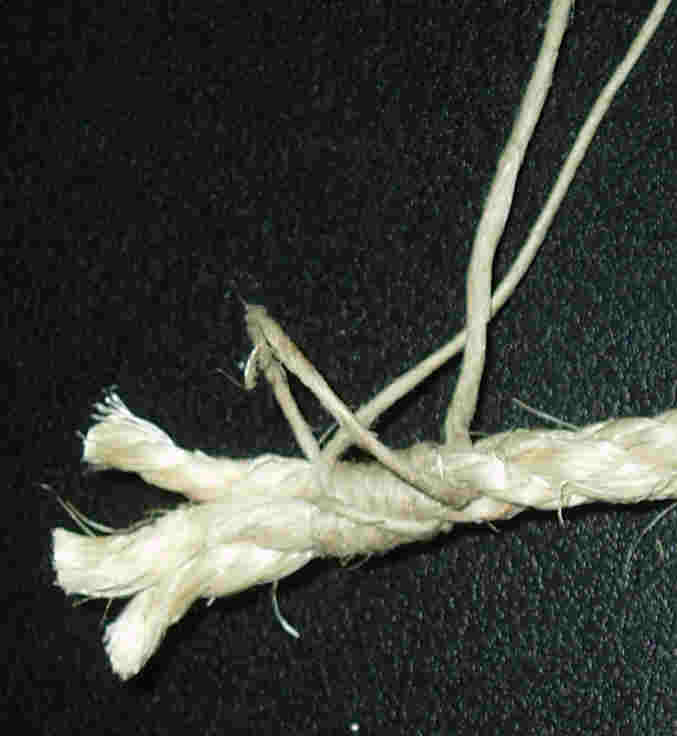
Put the, initially, short end of the thin rope into the strands, according to photographs.
Tie the two ends, thin rope, at the core of the rope together. Use a square knot. |
 |
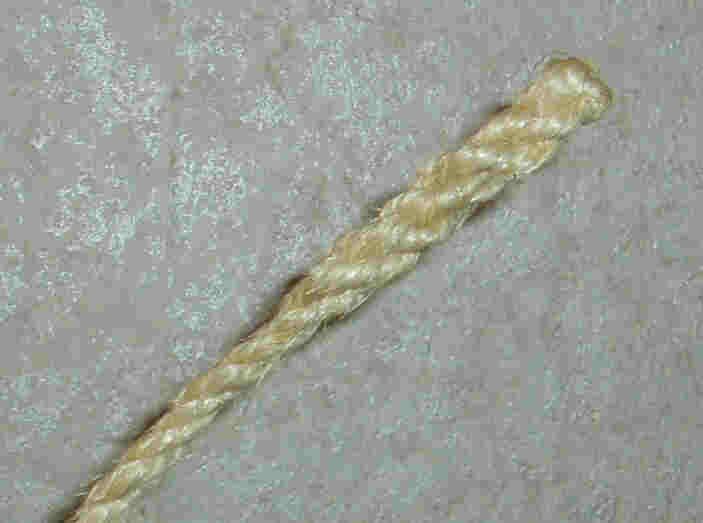
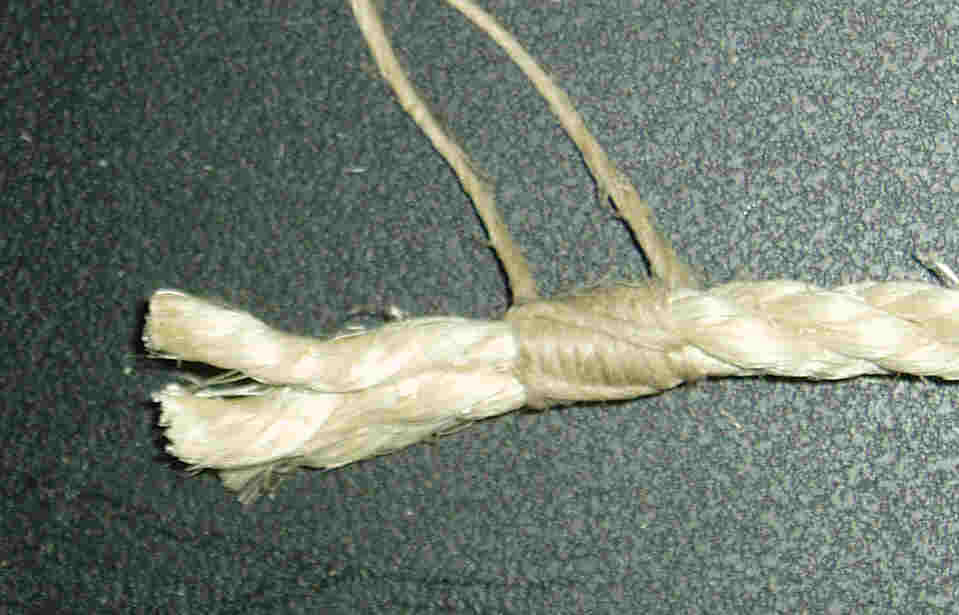
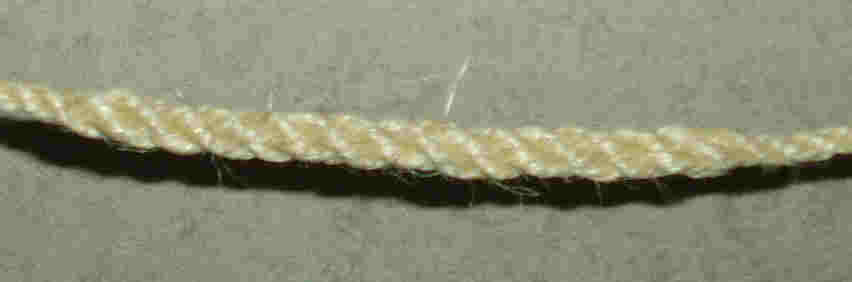
After cutting away the ends of the thin rope. You are able to use the rope.
Optionally, You might treat the rope with a resin (polyester), to harden the tip and permanently fix the thin rope. |
| |
|
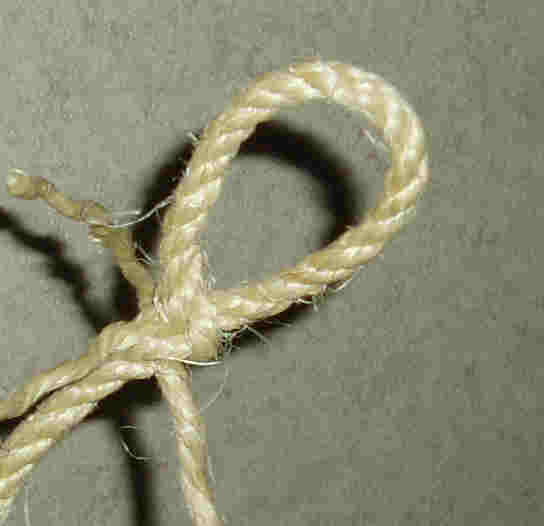
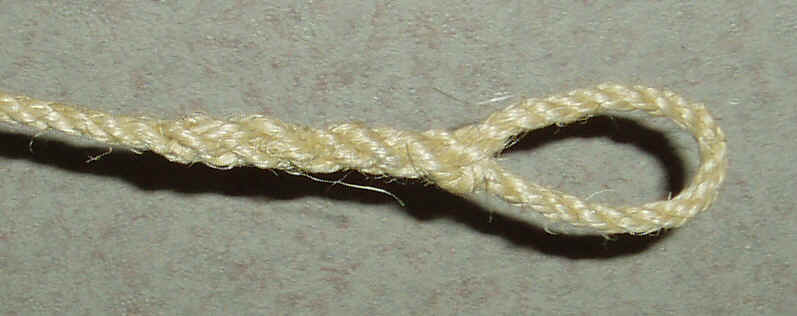
Eye Splice
|
|
|
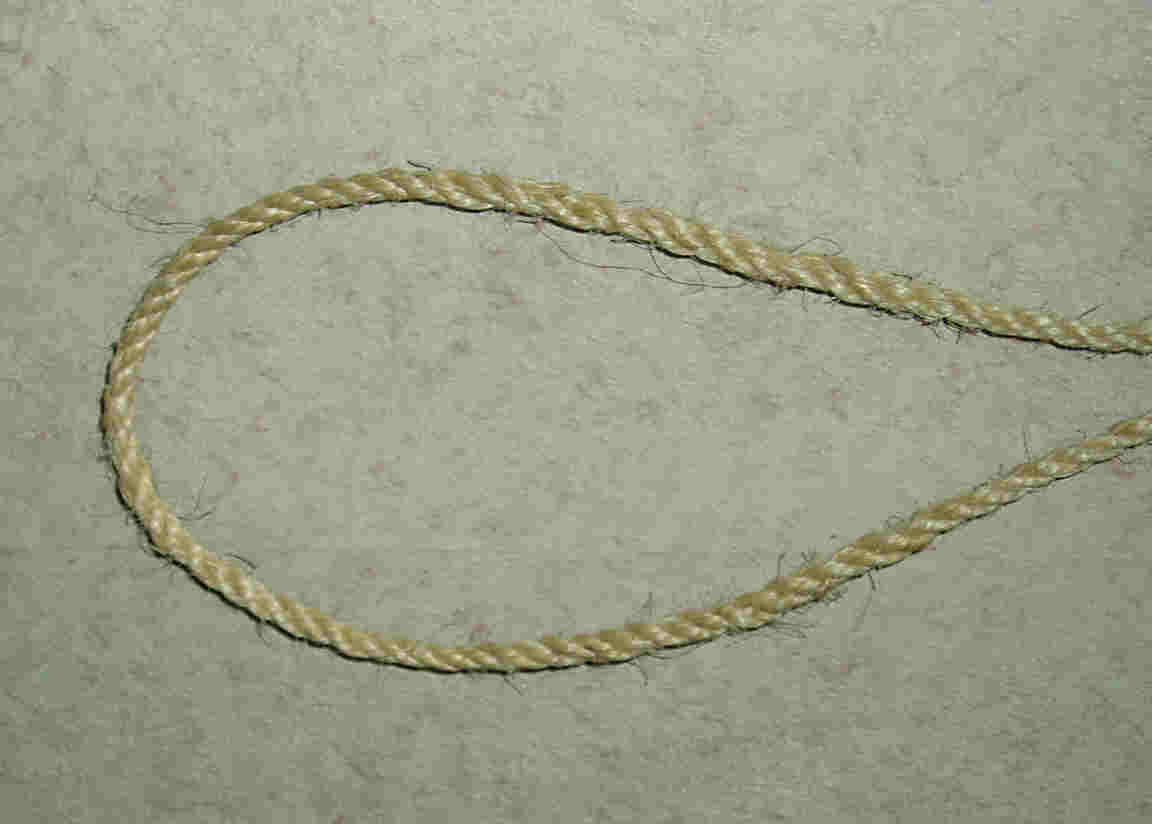
An eye splice is the ideal way to fix a permanent loop in the rope. Because rope easily damages on sharp angles, often a steel eye
is used. The steel eye is included with rope while making the splice. |
 |
Twist the strands of the rope apart. |
 |
Push one strand through the rope passing only one strand of the rope. |
 |
Push a second strand through the rope passing a different strand of the rope. |
 |
 |
| The third strand needs to be pulled through the loop. After wich you Push it
through the rope passing the latest strand of the rope. You get the same situation as an end split.
Right picture shows the result after the back weaving of the ends as described in the end splice. |
| |
|
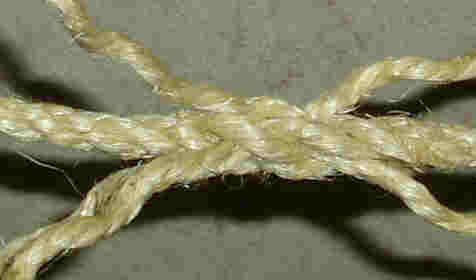
Short splice
|
|
|
The short splice is used to fix ropes together. No additions are needed.
Is mainly used to fix broken ropes. Because the strands are braided together, the rope becomes thicker at the splice.
If this is not desirable then use the longsplice. |
 |
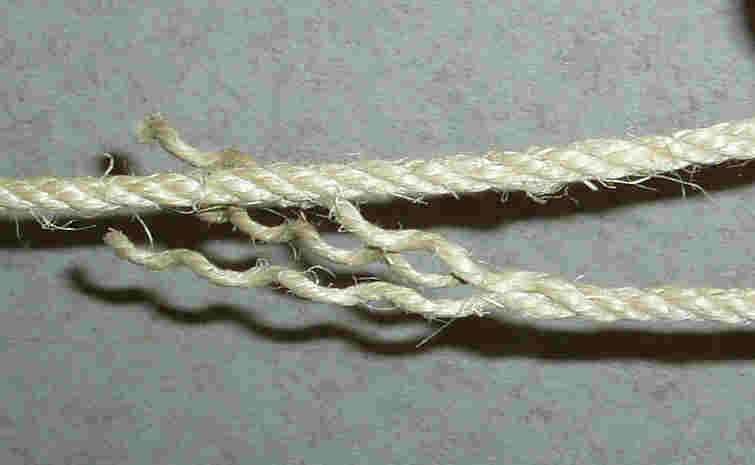
Twist the strands of the ropes apart. |
 |
Put two ropes together as shown in the picture. (Each view is the same.) |
 |
Push the strands of the right rope under the strands of the left rope. Each strand of the right rope wil cross one
strand of the left rope. While you do this hold the strands of the left rope on the right rope. |
 |
 |
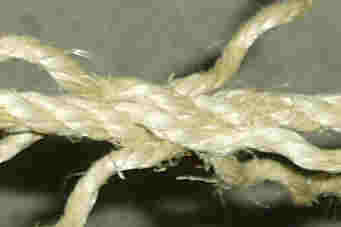
| left photo shows the result of the right rope spliced away on the left rope.
Repeat the action for the rope on the left. |
Photo shows the result after splicing and finishing. |
| |
|
Long splice
|
|
|
The long splice is an ideal method for connecting two ropes without the rope shows a thickening. Reserve some time before you start. |
 |
Twist the strands of the ropes apart. |
 |
Put two ropes together as shown in the picture. (Each view is the same.) |
 |
Push the strands of the right rope under the strands of the left rope. Each strand of the right rope wil cross one
strand of the left rope. While you do this hold the strands of the left rope on the right rope. |
 |
 |
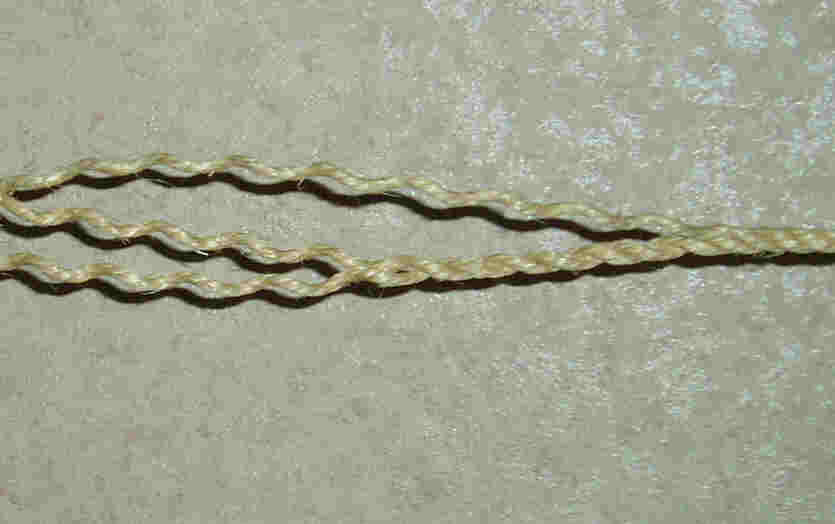
| From every spliced strand you need to cut 2/3the and twine the pieces back to a thin strand.
Now ty the thin strands together (see photograph) |
 |
by, splicing the thin strands on the main rope (as short splice), you get a rope wich has the same
thickness as the original rope, only longer. |
 |
Picture shows, all six ends spliced back into in the rope. |
| |
|
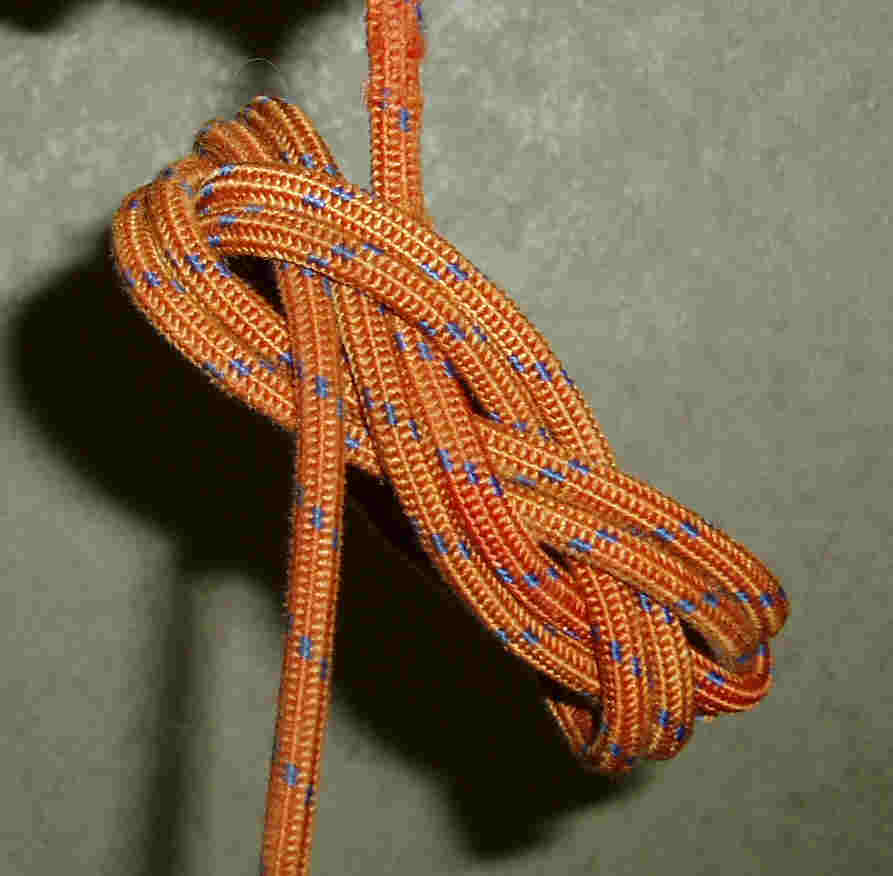
Turkish knot
|
|
|
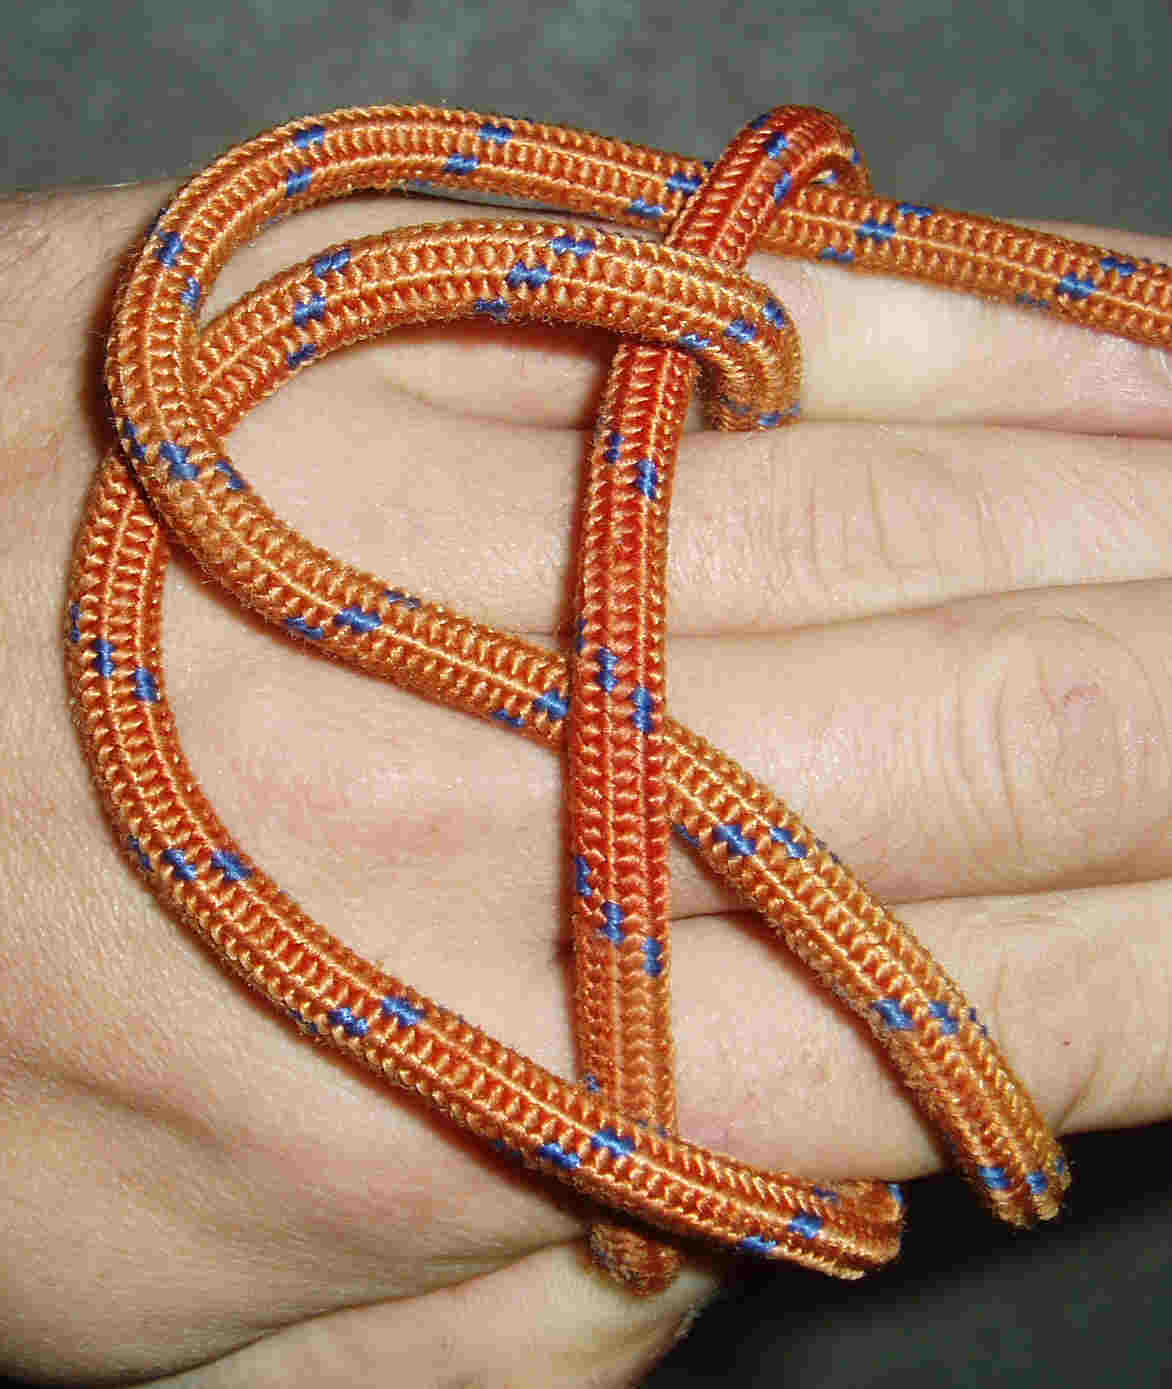
In the past this knot was used to locally thicken rope, so more grip was obtained. |
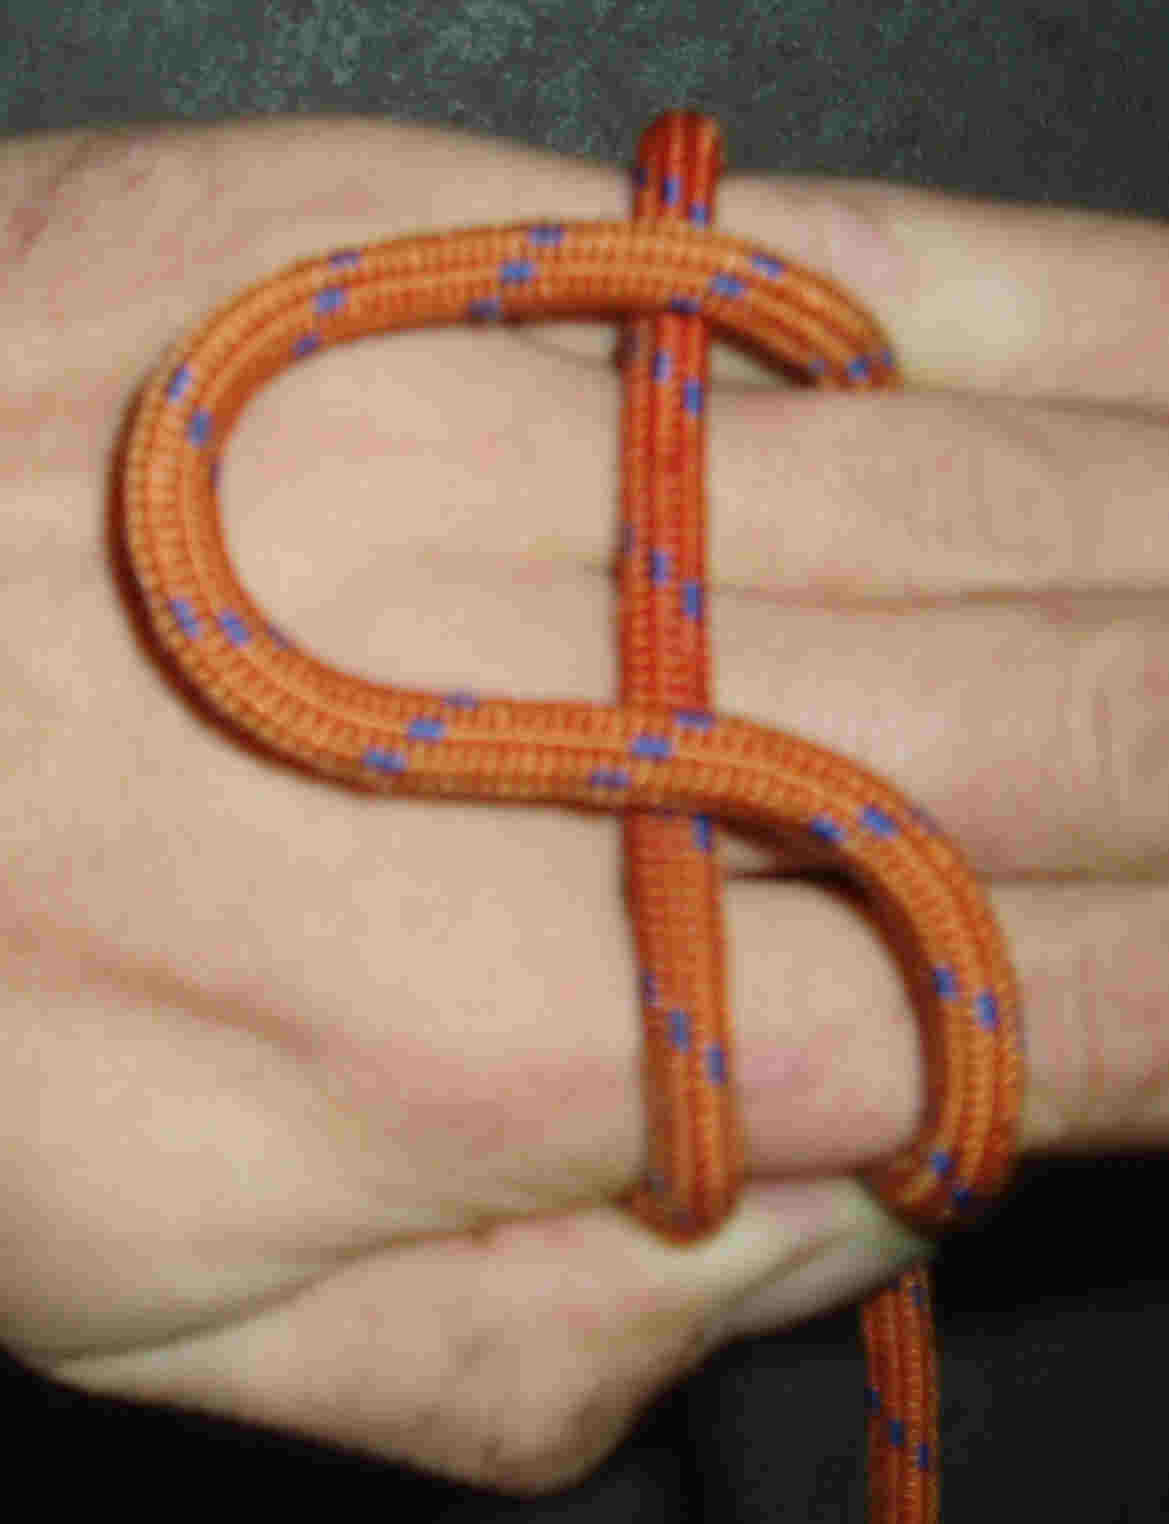 |
Twist the rope around your hand, while holding the end with your thumb. |
| Follow the route as shown with the yellow rope. |
 |
 |
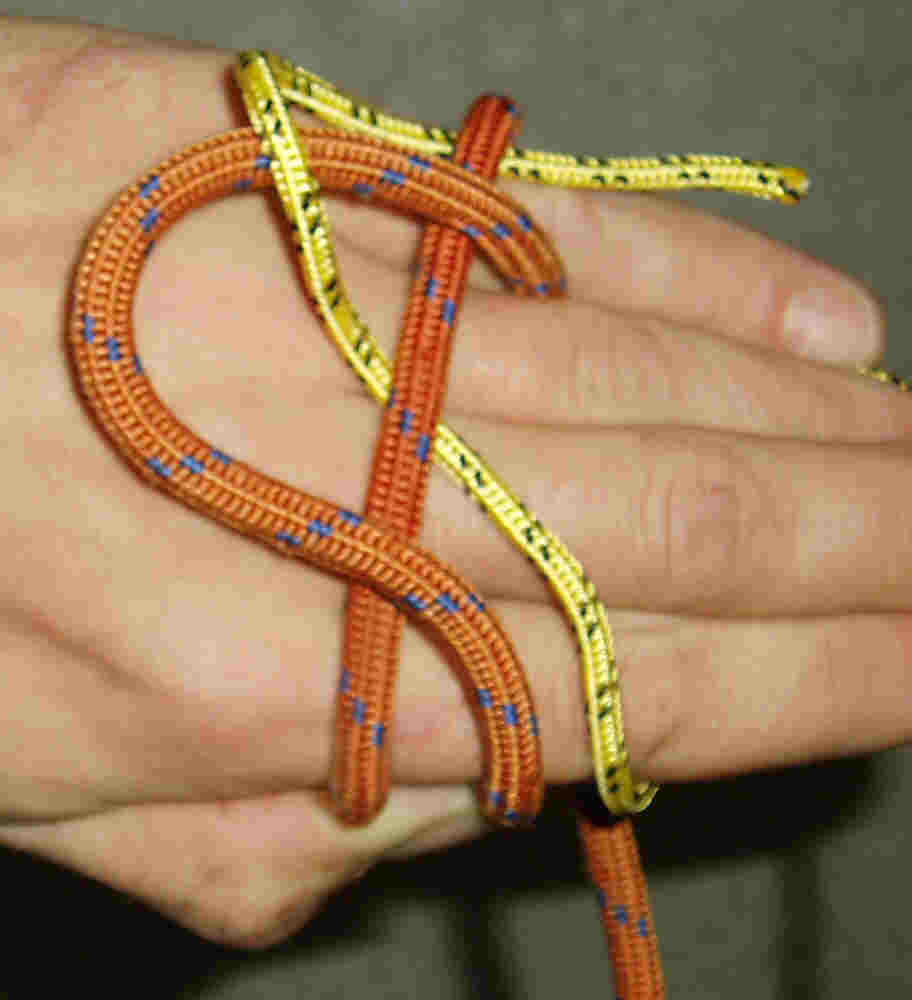
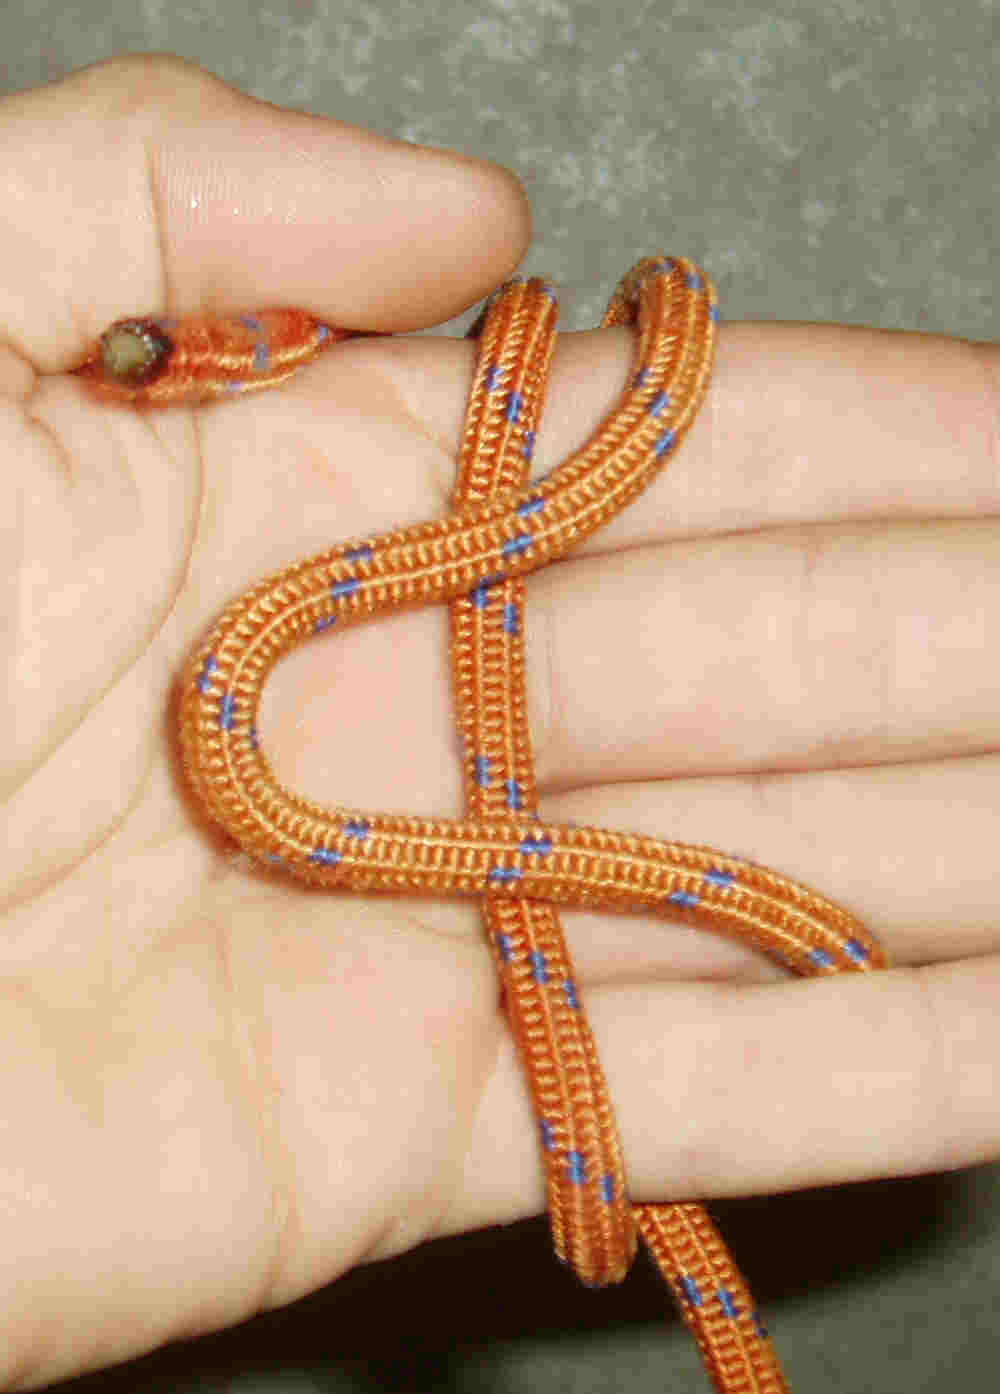
| Turn around your hand and pull the right rope over the left.Draai nu je hand om en trek het rechter touw over het linker. |
 |
 |
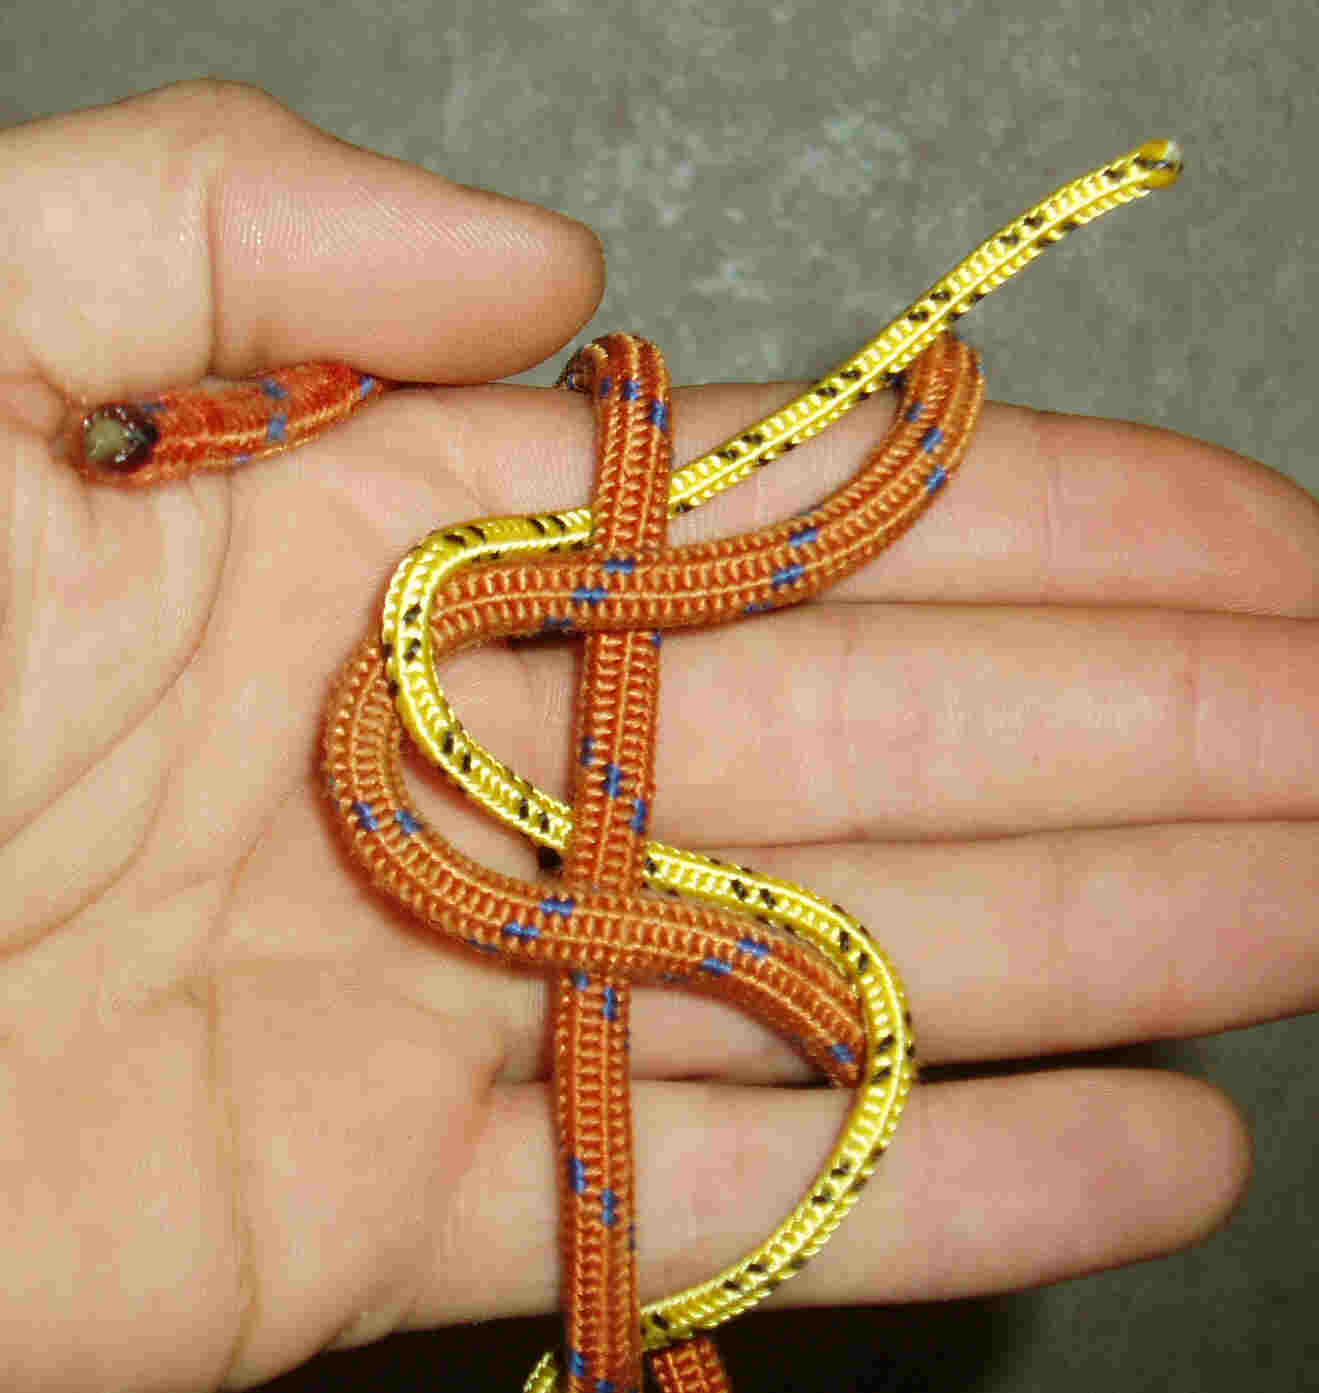
| Again, follow the yellow rope. when both ends lie besides each other you are on the right way. |
 |
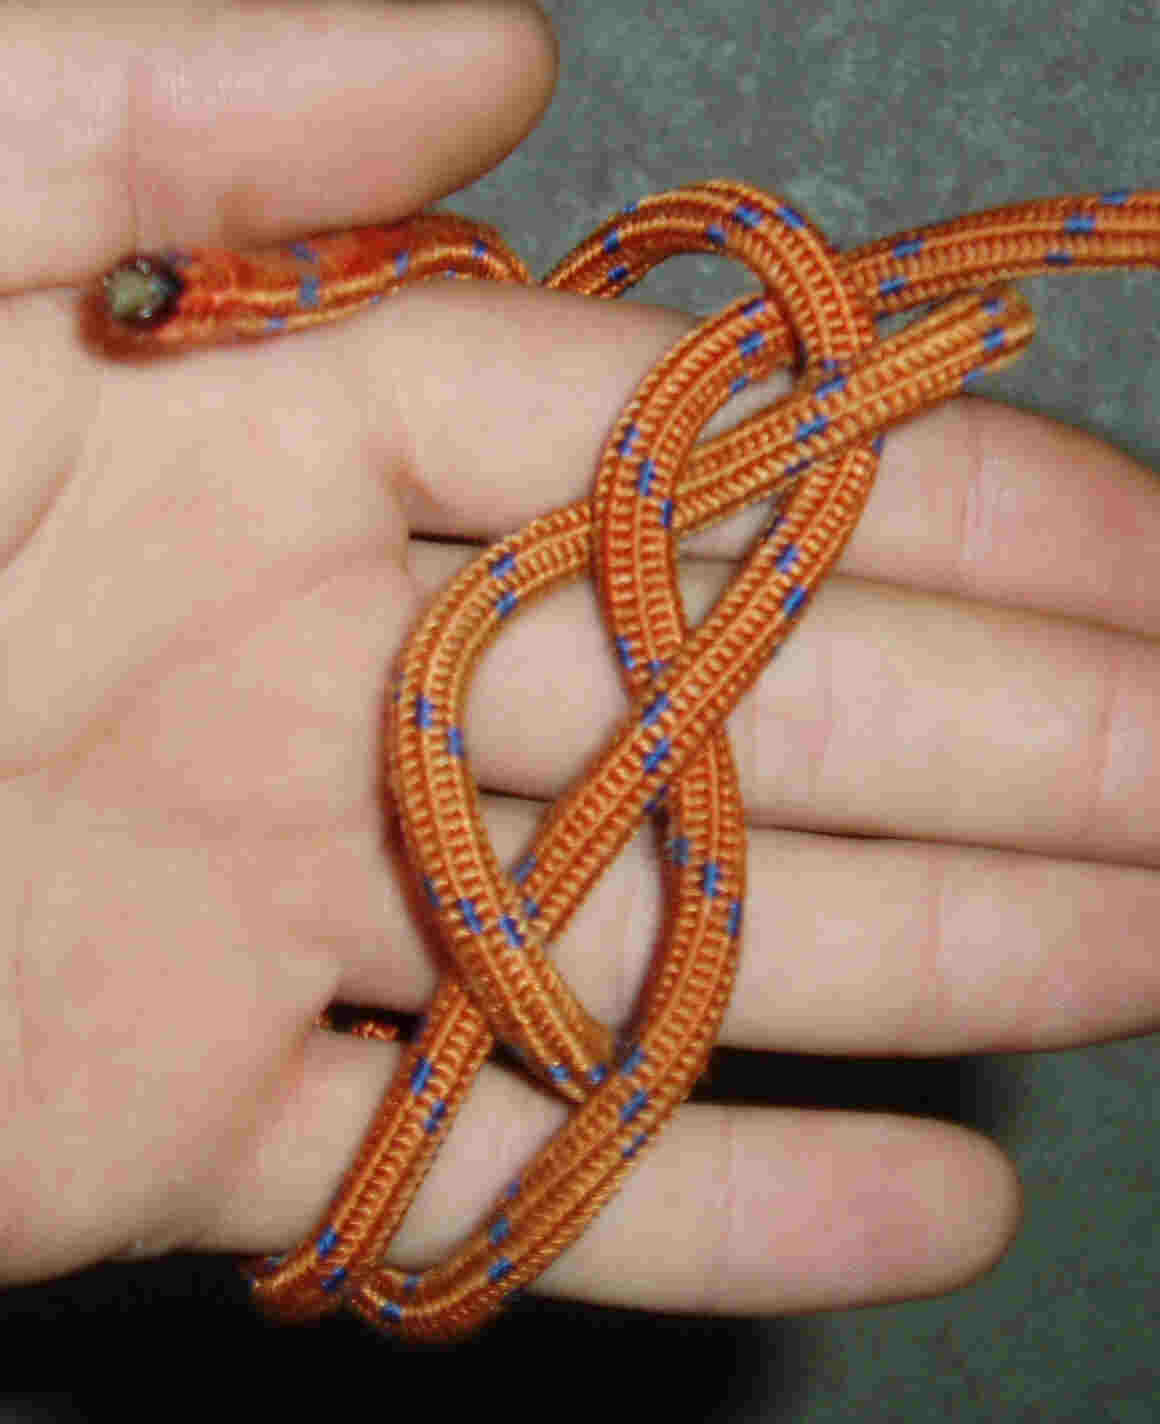 |
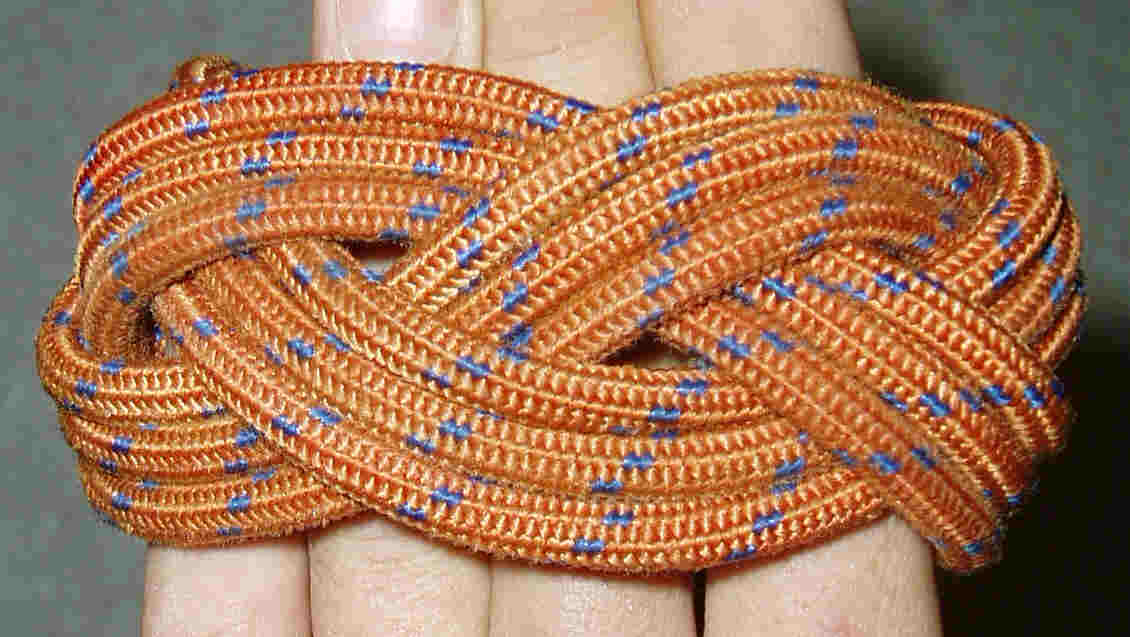
| Photo left, the result after the second time.
Photo right after a third time. The ends are cut away and stiched on the inside. |
 |
 |
|
|
|
|